Shipshot guide
Flutter App Store Screenshots: Capture, Design and Export
06 Sep 2026 · 3 min read
Flutter gives your team a shared codebase, but your store screenshots still need to represent the iOS and Android versions accurately. Use the platform builds to capture real product states, then compose the store artwork from those files. Shipshot handles the screenshot design and export stage; it does not run your Flutter project or capture a simulator on your behalf.
Create a small, repeatable demonstration state
Choose a useful journey such as adding a task, scheduling it and reviewing the week. Write down the initial data, account state and screen reached at each step. Keep those inputs consistent across iOS and Android so visual differences come from the platform rather than two unrelated examples. Avoid personal accounts and remove debug banners, loading placeholders and development-only controls before taking the source captures.
- Prepare fictional data that makes the product useful at first glance.
- Use a build that represents the version users will receive.
- Record platform, app version, locale and screen name with each capture.
Use integration tests when the repeated setup becomes expensive
Flutter’s integration_test package can exercise an application on a device or emulator, navigate through widgets and check the resulting state. That can make the path to a screenshot repeatable. It does not by itself choose your marketing story, turn a test failure into an approved capture, or prove that the final artwork meets store requirements. For a small first release, a documented manual capture session may be easier to maintain.
- Start with one stable journey before automating every screen and language.
- Check that the expected content is visible before accepting a capture.
- Keep screenshot preparation separate from unrelated test data that changes on every run.
Capture the two platform experiences honestly
A shared Flutter widget can still look different under iOS and Android conventions, keyboard behavior and system UI. Capture each platform separately. In Android Studio, the documented screenshot tools can save the displayed device or emulator view. For the Apple release, use the appropriate simulator or device capture and confirm the source image dimensions. Preserve the raw files; they remain useful when you later change the surrounding caption or device treatment.
- Check navigation, dialogs and permission states on each platform.
- Do not use an iOS source image to imply that the Android version has identical system controls.
- Capture tablet layouts separately when your app changes its arrangement on a larger screen.
Compose once, then review each store output
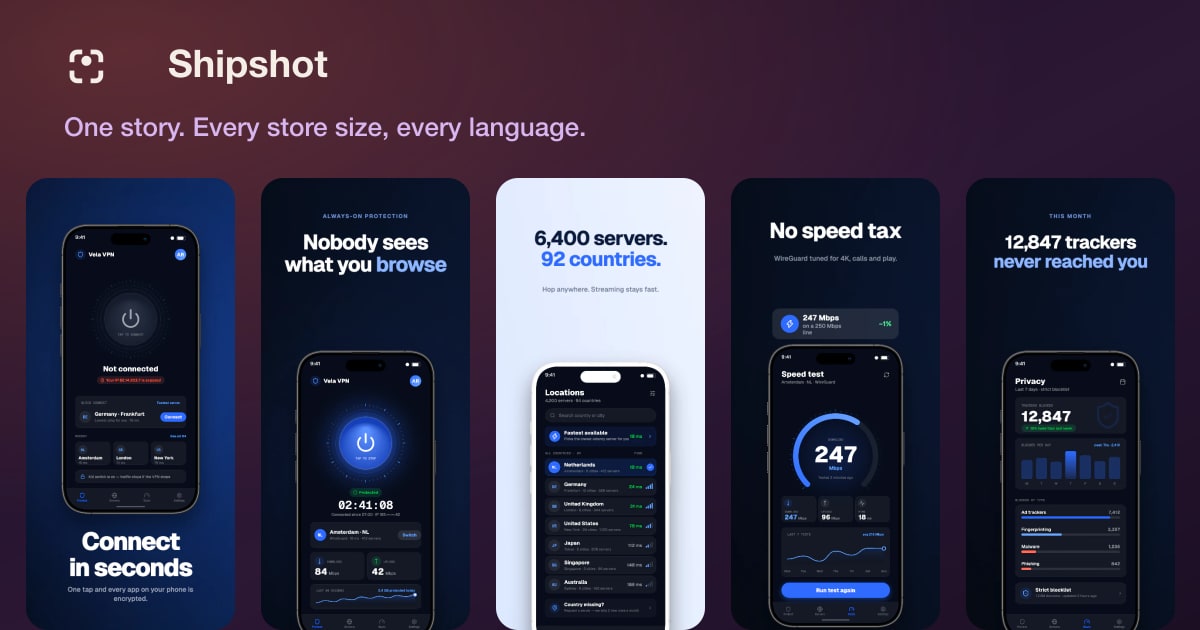
Import the captures into Shipshot and build a short story with editable captions. Select the iPhone, iPad or Android targets appropriate to the release. The store output size and the size of the original capture are different concerns: the finished canvas must meet store rules, while the placed screenshot must remain sharp and undistorted. Localized captions also need matching localized UI captures when the app supports that language.
- Test the busiest screen and longest headline in the design before completing the set.
- Inspect each exported file for cropping, text overflow and the correct platform UI.
- Download the approved assets and upload them yourself to App Store Connect or Google Play Console.
Review checklist
Questions to ask before handoff
Can Shipshot generate screenshots from Flutter source code?
No. Run and capture your app first, then use Shipshot to arrange the captures, add editable captions and export the store artwork.
Do I need integration tests for a first screenshot set?
No. They become useful when repeating the same capture setup is a maintenance burden. A careful manual session is a reasonable starting point.